Wednesday, September 1, 2021

Getting through inspections... Sway-bar end link on the honda, new brakes on the Golf, a CV boot, and some welding on the exhaust!

I didn't take too many pics of any of this work in part because of all of the great youtube videos and such out there- there are much better resources to find out how to do these things! But this year to get through inspection I had to: 

 On the Honda- broken sway-bar end link in the rear. Had to chop the rusty bolts off since they were just spinning in the ball joints but otherwise an unremarkable job. 

On the Golf: I knew I needed e-brake cables (those cables have been bad/binding for years but I've just struggled along with it) before the inspection. So I did those, and then literally on the way to the inspection the ABS light went on. Vag-Com tells me it's likely a bad sensor on the right rear. 

Ok. So wait a few days for mail-order parts and then dive into it. Turns out it is way more of a pain than it should be- the existing sensors have to be driven out with a hammer and punch, completely obliterating them in the process. Then the new sensors have to be practically pressed (hammered) in- for me with the assistance of vise-grips as an on-the-car press. Along the way I figured it made sense to do the rear brakes 'cause it seems like I alwways have to and I had them all off anyway. 

The front brakes _looked_ fine... but on inspection the rotors were too scored, even though I had plenty of pad left.. ah well, might as well refresh brakes all around. 

Also the CV boot on the right side had a small hole in it and was throwing grease all around. I would have been happier not to have to remove the CV joint but I've done most of it enough times now that it wasn't too dramatic (once I had all of the parts which was a bit of a saga that I won't recount here). Most surprising is how the CV joint comes off the half-shaft with just a little spring clip. 

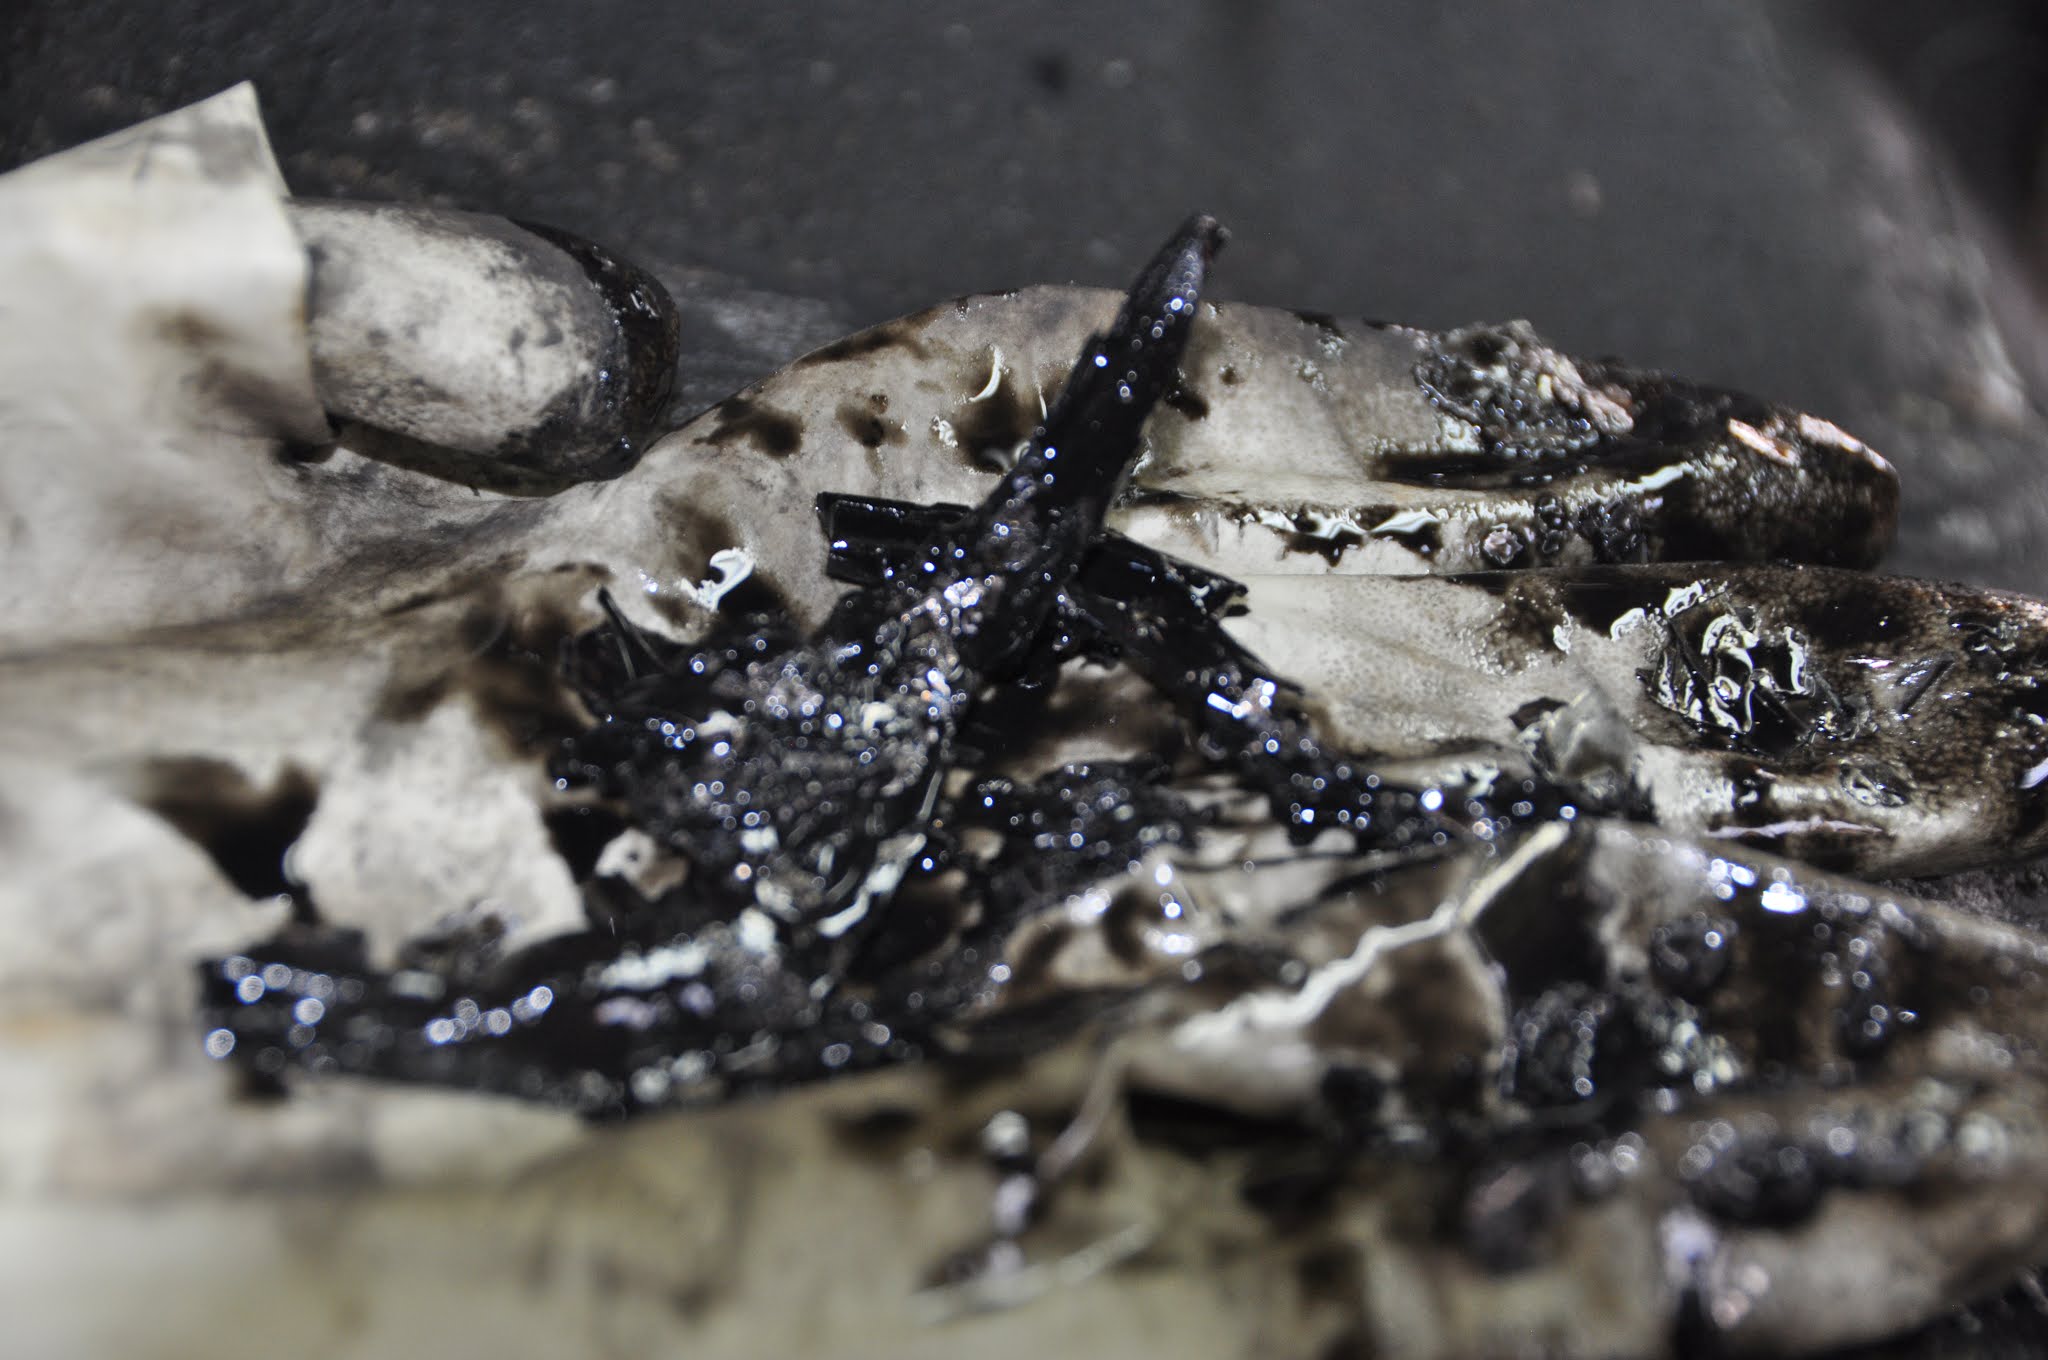
Finally, not sure this would have been a failure point but I noticed my rear-most exhaust hanger was rusted out and broken. So I fabricated a new one- and for this I have photos!

I'm glad I got a TIG welder- much easier to make a decent weld on the car than using my acetelyne torch...

Tuesday, March 23, 2021

Oil & filter change, Golf

 247 k miles, time to change the oil and filter in the Golf.  No pics, this is just an entry to log that it was done! 

Final pieces off the block, crankshaft damage exposed!

 Ok- this took a longer time to post than it took to actually do, sorry for any delay.  All it really took was a couple of bolts to get the connecting rod cap off and I could see the damage to the crank.  I have no experience assessing damage like this, but I can definitely tell that the crank journal (and maybe to a lesser extent the rod?) is scratched and not like the others.

The bearing cap and crankshaft journal, "establishing shot".
Close up of the inside of the bearing cap.  There was no bearing left in this one at all. 
Shot number one of the crank journal for the rod- you can see and feel the scuffing. 
Shot number two- hard to really do it justice with a photo- the difference in texture is really impressive. 
I thought it worth including a shot of the connecting rods themselves, as there is a question of whether these are the "third gen" rods which were upgraded after these engines had been in production for a while.  The previous owner's notes say the engine had been rebuilt, and there is an oil reservoir in the engine compartment that I hear is associated with that upgrade, but this shot should help figure it out.  It's stamped Isuzu-FM-3234.  
And finally, here is where we are now.  Nothing left to remove!  Now the block is light enough that I can haul it around by hand if need be.  Next steps- take the block and crank to a machine shop for measurements, and to see what they think about this crank.  The manual says that it shouldn't be ground because it is tuftrided, but I wonder if there's something we can do.


Sunday, March 7, 2021

More disassembly- motor upside down!

 In order to progress to the next stage I had to source another pair of bolts to re-mount the engine to the stand, as the original lower bolts I had were bolted into the oil pan, which is more substantial and referred to as the "crank case with oil pan" by the Isuzu manual.  These new bolts were M12 with 1.5mm thread pitch, also uncommon so had to be mail ordered...  

But now this weekend I've got the bolts, re-mounted the motor on the stand, turned it over (with the requisite dripping of oil and coolant- ugh.  At least I expected it and caught most of it but it was still messy).

And here's what I found:

But one of the more remarkable things about opening up the oil pan is what was in there that never drained out during the regular oil changes.  There was a bunch of junk in there- not all of it parts of the shredded bearing:

Lots of gunk in there.  Some hard, some soft...  Kind of amazing, really.  A lot of it was sucked up against the pickup screen of the oil pump.  

So, next will be to pull the pistons and actually look at the crankshaft journals to see how much damage there is. But first step is to pull the cam and then the front timing plate.  But the cam is giving me trouble- you can see here that I've removed the 6 bolts from the oil seal retaining plate, but it still won't budge.  Will have a hunt around the web to see if there's any help! 

[edit- I went back a couple of hours later and got it out- just needed to be more confident with my pulling and prying!]


Sunday, February 28, 2021

FInally the smoking gun- rod bearing in cylinder 1

 When fixing things, especially if you are not 100% positive on your diagnosis, it's common to take it apart until you find something that looks broken and then fix it.  It's always my worry that I'll take everything apart and never actually find anything broken...  

 That's actually what happened the first time I did that with a bad starter motor.  I took it all apart, looked at each piece, and then put it back together.  Danged if it actually worked after that...  As it turns out it was simply all gummed up and by taking it apart and putting it back together I did indeed fix it...   that was a learning experience!

For this engine, though, it was knocking really badly.  And lo and behold, once the head was off, we could do a pretty definitive diagnosis!  Here's a 43-second video.


Sunday, February 21, 2021

Weekend's progress- the driver's side...

 Just a quick shot of the weekend's progress.  managed to remove the turbo, manifolds, oil lines, starter...  ready now to pull the head!


Sunday, February 14, 2021

Pulling off a few more parts...

 Today I got the injector pump, rocker arms, push rods, and tappet cover off.  All boxed up and nicely labeled.

What the front looked like (timing-belt-wise) before I removed the injector pump, timing belt, idler pulley. 
Rocker arms, pushrods, and tappet cover going into the box.
Current status as of the end of Valentine's day 2021.  Next up is the other side of the engine- turbo, exhaust and intake manifolds, and whatever else is down under there. 


Saturday, February 13, 2021

New Grain Mill mounting

Finally got the grain mill (a MaltMill from Schnmidling industries)  integrated into my main brewstand, instead of being freestanding (really, resting on a 5 gallon bucket).   I can now mill directly into my strike water- so milling and mashing-in are the same step.  Saves time! 

Control side, showing the hopper (still small, I need to feed it about 5-8 times during mashing in), the power switch, from where I stand for mashing in. 
Drive side.  I stand on the other side from this!  otherwise I'd definitely have a guard on the belt and pulleys. 
Full context.  The mash/lauter tun is the highest point, with the grain mill above.  The brewkettle is from Spike Brewing on the left.  The hot liquor tank is lower right, in this photo being fed with hot water from the kettle.  When I am able to get 220 VAC to the garage, I'll electrify and PID the HLT which will make life easier... 

Monday, February 8, 2021

This week's C223T rebuild progress

Well, it's not really a rebuild yet- it's still a teardown.  But this weekend I got all of the fuel lines, wiring harness, glow plugs and harness, oil filter housing, pressure sensor, and some coolant, oil, and breather lines off the passenger's side of the engine.


That's before I took most of that stuff off.  Took this and a lot of other shots to make sure I know where to put things back! 

Now that passenger's side looks a lot cleaner...  Just the injector pump left.  Need to take off a few other things while taking care of the timing belt- like getting the rocker arms off.  Since it's an interference engine, I don't want to accidentally knock a piston against a valve if I move the crank accidentally without corresponding movement of the camshaft.


Saturday, January 16, 2021

Engine's on the stand!

 Finally received the correct bolts to mount the engine on the stand- turns out M10 and M12 80mm bolts are hard to find in class 10.9 (equivalent to grade 8- sturdy enough to hold the weight of the whole engine on 4 of them).


Olivia attaches the mounting plate attached using said class 10.9 bolts.  I torqued them to about 60 ft-lbs which is what the transmission-to-engine mounting bolts get, figured that should be good.  

Then we positioned it, slipped the plate stock into the stand, and lowered the weight off the hoist, and the $65 Harbor Freight engine stand holds it!  Not rock-solid, but the first thing we'll be doing is removing a bunch of bolt-on stuff from the engine which will lighten it a lot.  


And here is is on the stand, ready for work! 

Monday, January 4, 2021

New Project: Trooper Engine Rebuild...

Olivia convinced me that fixing the suspected connecting rod bearing on the Trooper engine (Diesel- C223T) would be a good father-daughter project, so the first step was pulling the thing out.  No photos of that process, which involved the removal of the transmission among other things.  But the engine is out, a stand at the ready (still need to source the correct bolts to mount it), and the rebuild project is now ready to begin!