247 k miles, time to change the oil and filter in the Golf. No pics, this is just an entry to log that it was done!
Tuesday, March 23, 2021
Oil & filter change, Golf

Final pieces off the block, crankshaft damage exposed!
Ok- this took a longer time to post than it took to actually do, sorry for any delay. All it really took was a couple of bolts to get the connecting rod cap off and I could see the damage to the crank. I have no experience assessing damage like this, but I can definitely tell that the crank journal (and maybe to a lesser extent the rod?) is scratched and not like the others.


Sunday, March 7, 2021
More disassembly- motor upside down!
In order to progress to the next stage I had to source another pair of bolts to re-mount the engine to the stand, as the original lower bolts I had were bolted into the oil pan, which is more substantial and referred to as the "crank case with oil pan" by the Isuzu manual. These new bolts were M12 with 1.5mm thread pitch, also uncommon so had to be mail ordered...
But now this weekend I've got the bolts, re-mounted the motor on the stand, turned it over (with the requisite dripping of oil and coolant- ugh. At least I expected it and caught most of it but it was still messy).
And here's what I found:
But one of the more remarkable things about opening up the oil pan is what was in there that never drained out during the regular oil changes. There was a bunch of junk in there- not all of it parts of the shredded bearing:
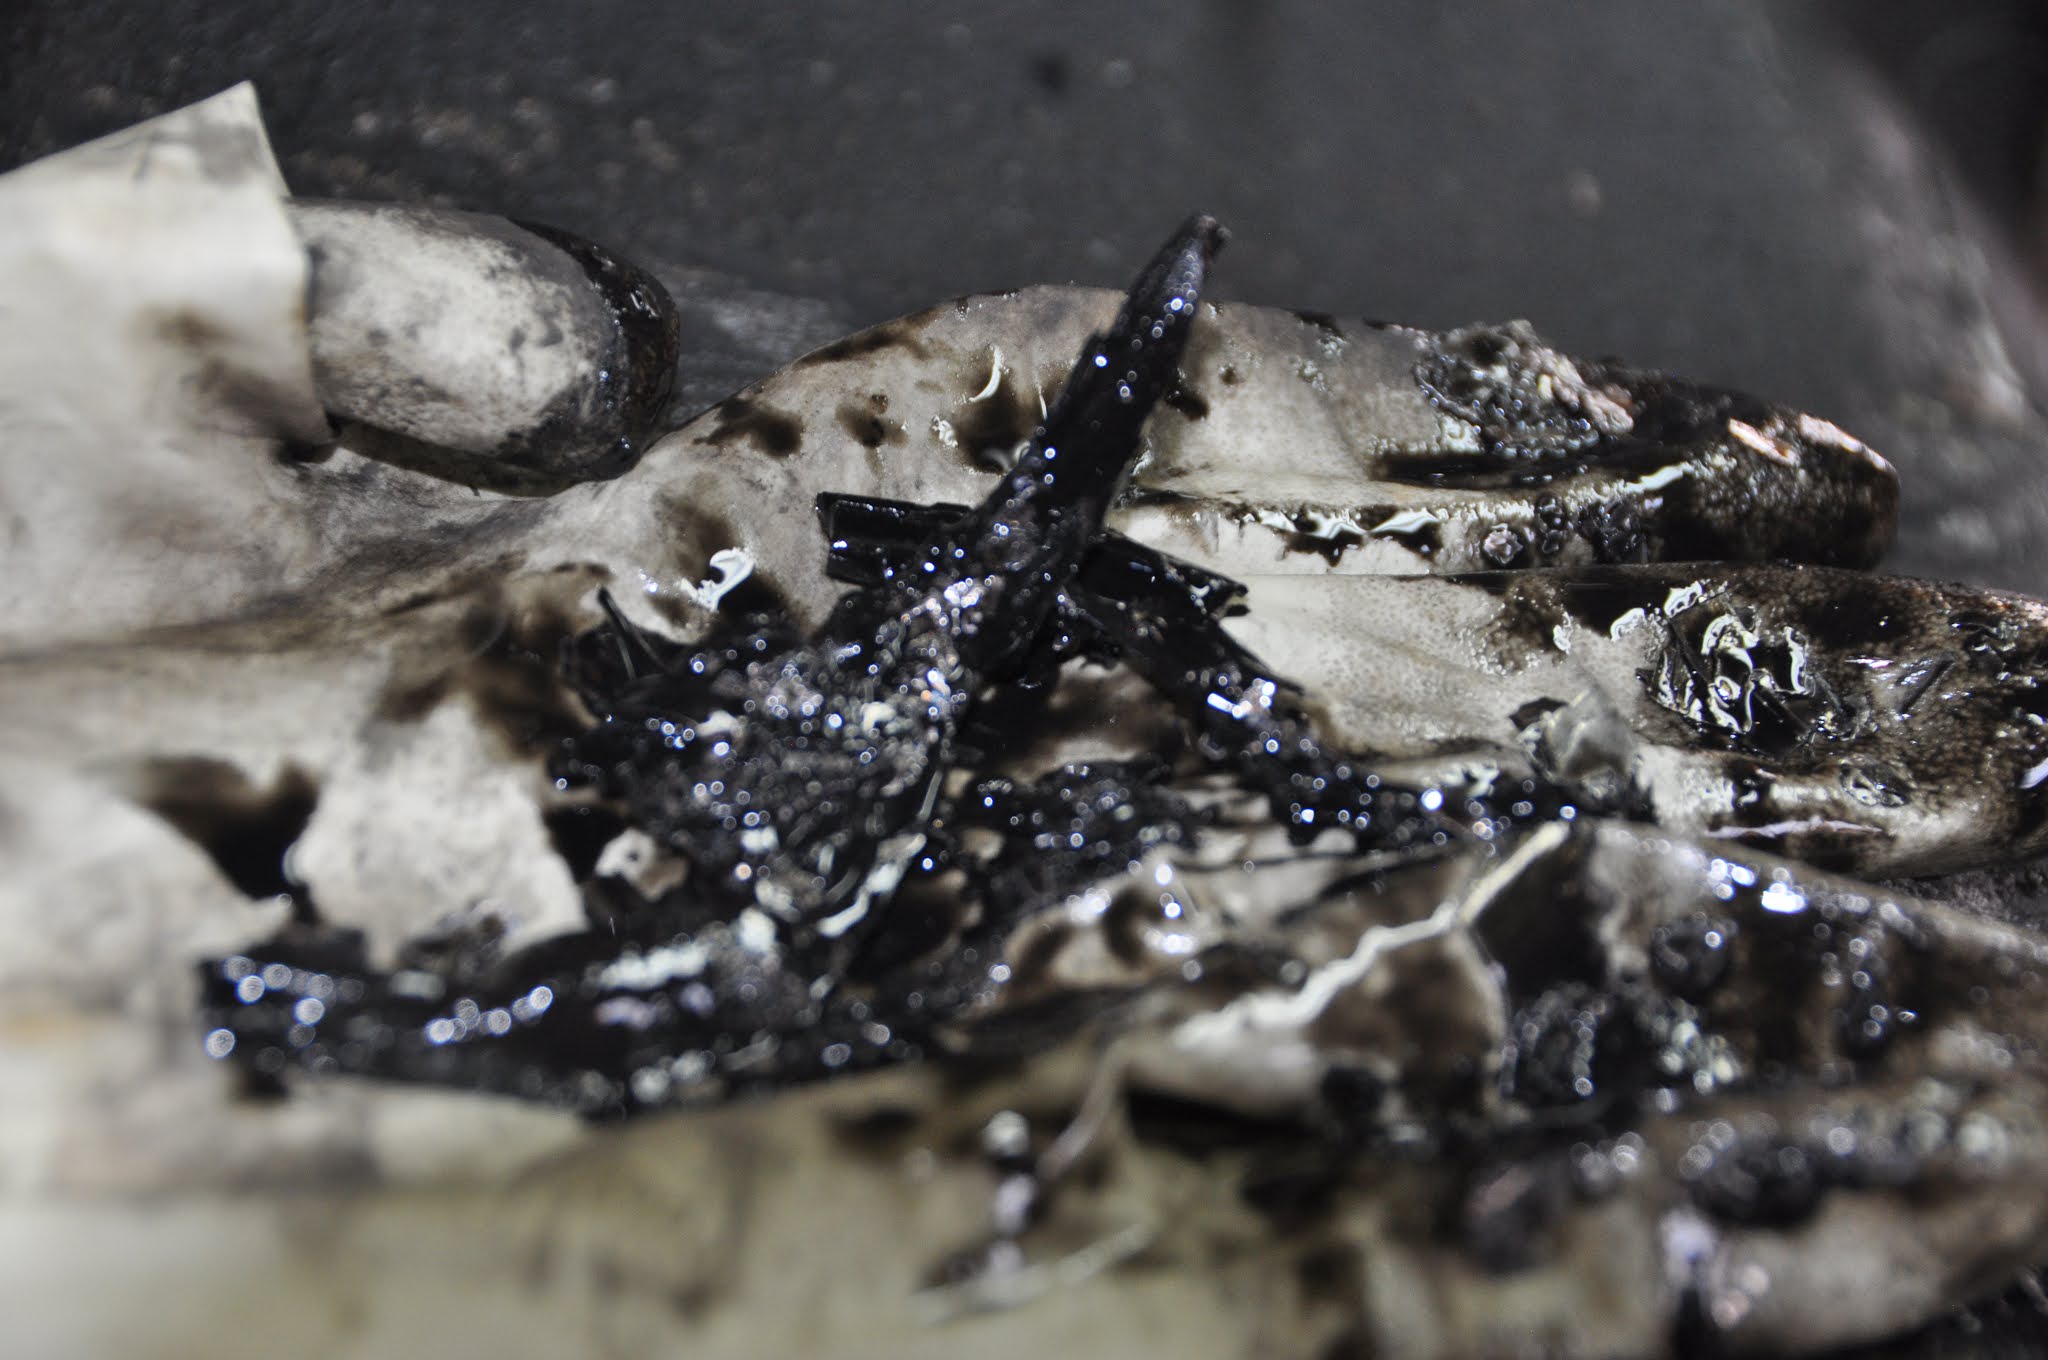
Lots of gunk in there. Some hard, some soft... Kind of amazing, really. A lot of it was sucked up against the pickup screen of the oil pump.
So, next will be to pull the pistons and actually look at the crankshaft journals to see how much damage there is. But first step is to pull the cam and then the front timing plate. But the cam is giving me trouble- you can see here that I've removed the 6 bolts from the oil seal retaining plate, but it still won't budge. Will have a hunt around the web to see if there's any help!
[edit- I went back a couple of hours later and got it out- just needed to be more confident with my pulling and prying!]


Sunday, February 28, 2021
FInally the smoking gun- rod bearing in cylinder 1
When fixing things, especially if you are not 100% positive on your diagnosis, it's common to take it apart until you find something that looks broken and then fix it. It's always my worry that I'll take everything apart and never actually find anything broken...
That's actually what happened the first time I did that with a bad starter motor. I took it all apart, looked at each piece, and then put it back together. Danged if it actually worked after that... As it turns out it was simply all gummed up and by taking it apart and putting it back together I did indeed fix it... that was a learning experience!
For this engine, though, it was knocking really badly. And lo and behold, once the head was off, we could do a pretty definitive diagnosis! Here's a 43-second video.
Sunday, February 21, 2021
Weekend's progress- the driver's side...
Just a quick shot of the weekend's progress. managed to remove the turbo, manifolds, oil lines, starter... ready now to pull the head!

Sunday, February 14, 2021
Pulling off a few more parts...
Today I got the injector pump, rocker arms, push rods, and tappet cover off. All boxed up and nicely labeled.


Saturday, February 13, 2021
New Grain Mill mounting
Finally got the grain mill (a MaltMill from Schnmidling industries) integrated into my main brewstand, instead of being freestanding (really, resting on a 5 gallon bucket). I can now mill directly into my strike water- so milling and mashing-in are the same step. Saves time!


Subscribe to:
Posts (Atom)